
Create a scripted SharePoint 2013 Development Environment Tutorial – Part 3
 By Vlad Catrinescu Microsoft MVP and MCT · Pluralsight Author
Introduction
Creating a SharePoint Development Virtual Machine is something you might have to do quite a few times as a Developer. Even if it’s a pretty easy process, on a slow machine it can easily kill 4-5 hours of your day only to install SQL, SharePoint, Visual Studio and all the others tools you might need to get started. What if you could just script it so it’s all done automatically while you go take coffee, chat on SharePoint Community (opens in a new tab) or whatever else you enjoy doing? In this tutorial we will learn how to build a script that we will keep using for as long as you keep developing on SharePoint 2013. The tutorial will be split in a few sections since in order to keep them focused and short, and at the end they will all be published in a downloadable PDF. I strongly encourage you to not only copy the scripts, but actually read the blog posts of why I did them like this and there are some parts where you will need to work as well!
Sections:
- Introduction & Prerequisites & Creating the Domain and Service Accounts
- Installing software prerequisites + SQL
- Installing SharePoint 2013
- Installing Visual Studio 2012 and Optional Software
- Basic Optimizing and Summary
- Advanced Optimizing of the scripts! (You are here)
- An eBook Guide of the 6 sections and a video! (19/11/2013)
Installing SharePoint 2013
The Installation of SharePoint 2013 will basically be done in two steps. The first step is, of course, preparing our source package and configuration, and the second step is installing it. Both those steps will be done with the help of two great tools done by Brian Lalancette (opens in a new tab). The first one is AutoSPInstaller that you can download here: https://autospinstaller.codeplex.com/ (opens in a new tab) and the second one is AutoSPSourceBuilder that you can download here: https://autospsourcebuilder.codeplex.com (opens in a new tab) .
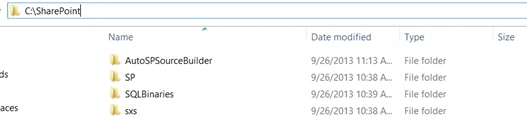
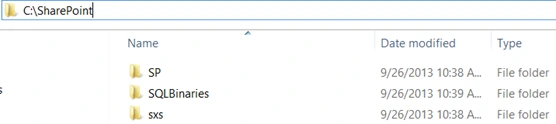
First, let’s download AutoSPInstaller, and put the “SP” Folder in C:\SharePoint . Now, let’s download AutoSPSourceBuilder and extract it in C:\SharePoint Again. The folder should look something like:
Next thing you have to do is mount the SharePoint 2013 ISO file and open PowerShell as an administrator.

Run the following script (If you want to add language packs to your install you can now! Make sure to read the tools documentation if you modify stuff! Also, for this step you will need an internet connection so it can download the prerequisites! However, once we have them we won’t need them anymore for future Virtual Machines.
cd C:\SharePoint\AutoSPSourceBuilder
.\AutoSPSourceBuilder.ps1 -Destination "C:\SharePoint\SP\2013" -GetPrerequisites $true
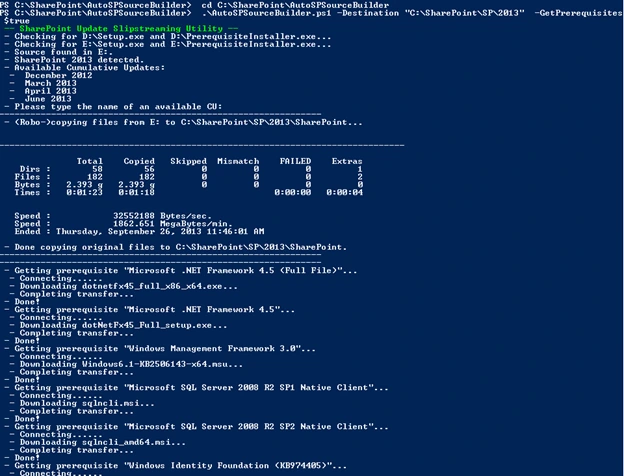
The script will start copying the Source Files from your ISO in the right folder in C:\SharePoint , as well as downloading the pre-requisites so they are offline in the future! It will look something like this:
When Asked to enter a Cumulative Update, just press Enter, we don’t want to slipstream the updates using the old process, we will use the new “AutoSPInstaller” way!
While it runs, you can download the March 2013 PU from this link: http://download.microsoft.com/download/5/1/C/51CA768E-C79E-41BA-91D4-7F7D929B0BFE/ubersrvsp2013-kb2767999-fullfile-x64-glb.exe (opens in a new tab)
And the August 2013 Cumulative Update from this link: http://hotfixv4.microsoft.com/Microsoft%20SharePoint%20Server%202013/sp1/ubersrv2013kb2817616fullfilex64glb/15.0.4535.1000/free/466901_intl_x64_zip.exe (opens in a new tab)
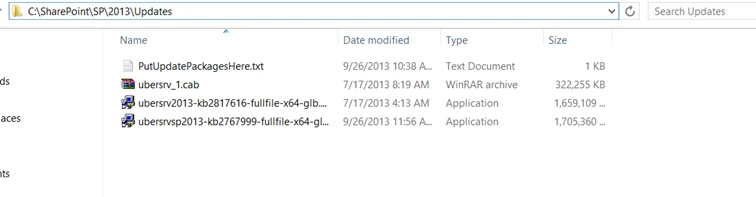
The March 2013 CU is already an .exe file, however the August 2013 one is a zip, so you will have to extract it into the exe. After you do, copy both your executables and the .cab file into C:\SharePoint\SP\2013\Updates folder. It should look something like this :
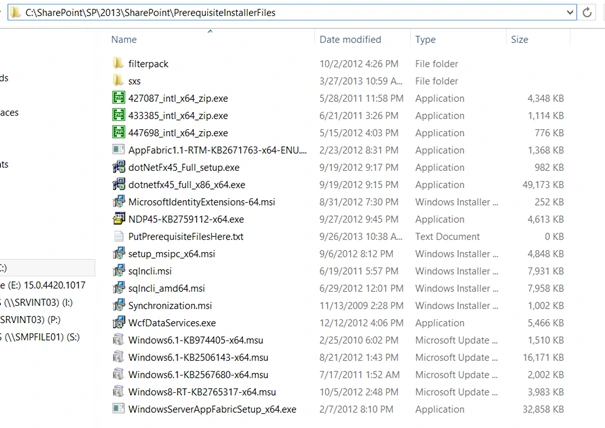
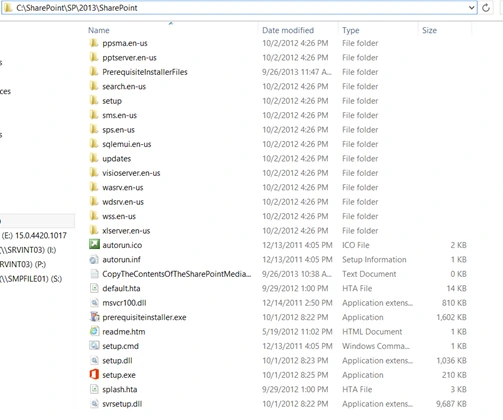
When the AutoSPSourceBuilder finishes, it will have copied all the SharePoint 2013 Media in the C:\SharePoint\2013\SharePoint folder and all the prerequisites in C:\SharePoint\SP\2013\SharePoint\PrerequisiteInstallerFiles . Now that your media is prepared, you can actually delete the AutoSPSourceBuilder folder as we won’t be using it anymore. It will look something like this:
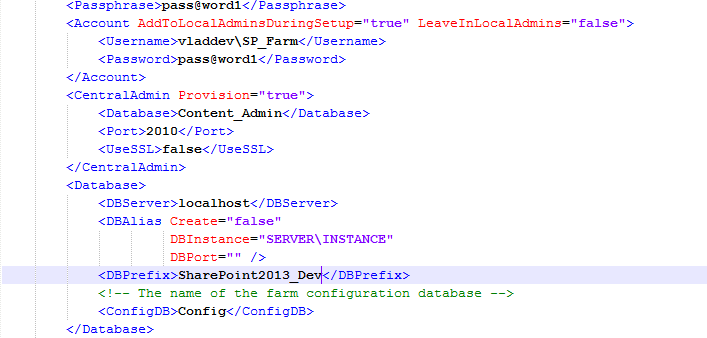
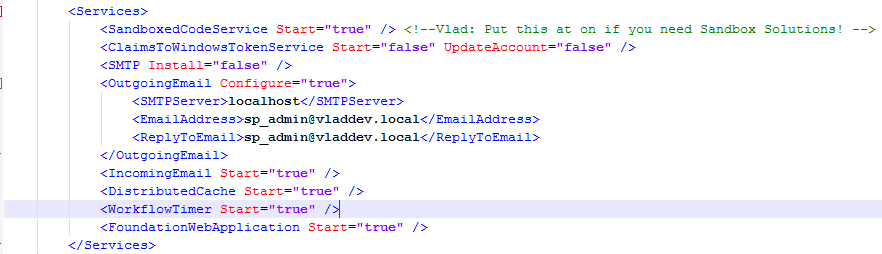
Now that our SharePoint Sources are ready, we can start configuring everything! Go in C:\SharePoint\SP\AutoSPInstaller and open “AutoSPInstallerInput.xml” with a notepad editor. You can also edit this file on your local machine since you probably have NotePad++ which makes modifying this document a lot easier! The Document is pretty well documented however I will go over with you with some settings we need to change. I will also show you a bit under an example of a configured AutoSPInstallerInput.xml that you can refer to incase you have any questions… so let’s start!
- change the “PIDKEY” value with your actual SharePoint 2013 Key :

- Change “OfflineInstall” to true:

- Change the “AutoAdminLogon” to true and enter the sp_admin password. This will make sure we aren’t prompted to reboot every time the Pre Req installer needs a reboot! :

- Change the “CertificateRevocationListCheck” to true. If we keep it enabled, it will slow down your VM when not connected to internet!:

- Enter the passphrase of the farm… Make sure it’s pretty complicated!
Tip to make configuration faster! Do a Find/Replace with Domain\ for vladdev\ (for example) and domain.com for vladdev.local (for example). This will avoid you writing in the domain every time!
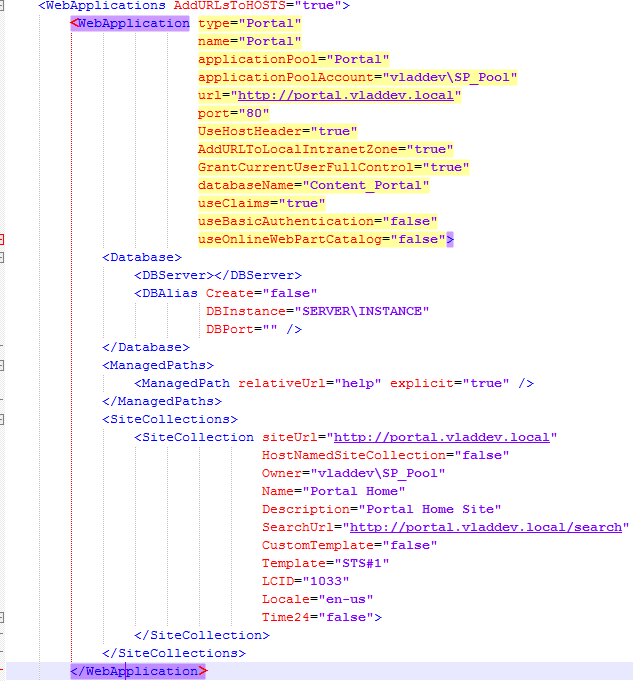
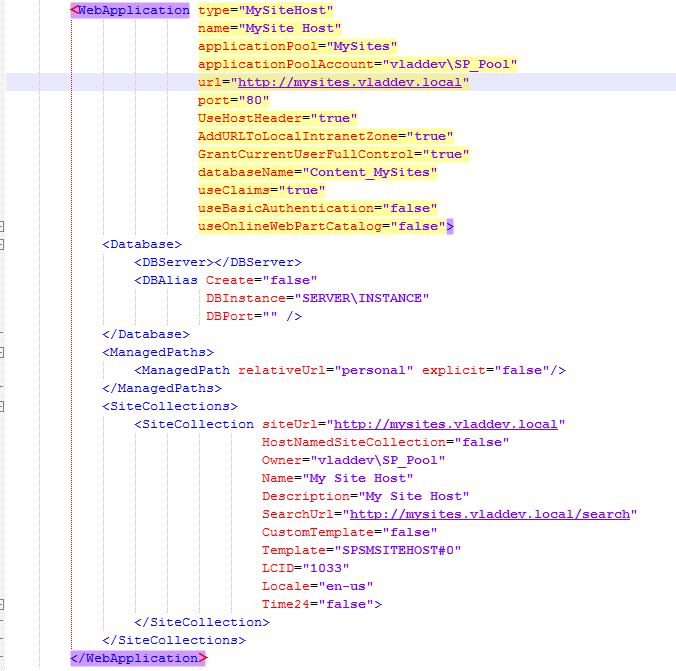
From now on, I won’t tell you what to change on each line, since it’s very well documented in the XML file, however I will post you screenshots of “Sections”. The only thing I want to make sure you do is set the
PS: I will have deleted comments from my screenshots so I am able to show you more actual configuration on a smaller screenshot!
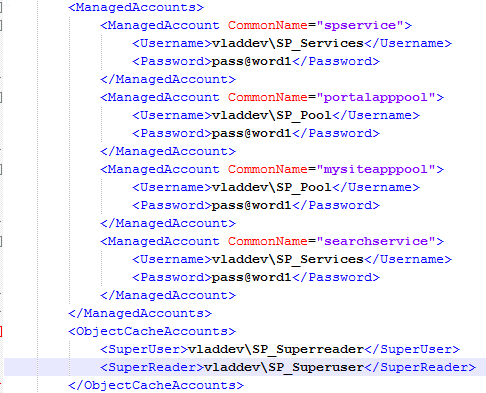
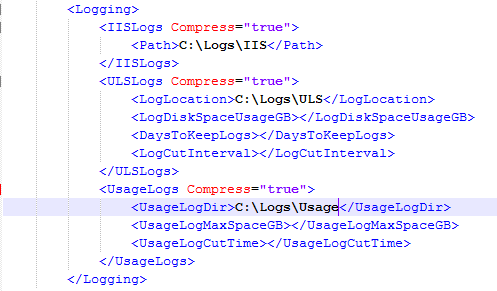
In the Logging Part, I changed the Path to C:\Logs\
For the Service Applications, the basic ones will only ask you if you want to provision or not… And some of them like “Search” And User profile will ask you for more detail! I will only show you the MMS, Search and User Profile Screnshots, use the comments in the XML to configure the rest if you need!
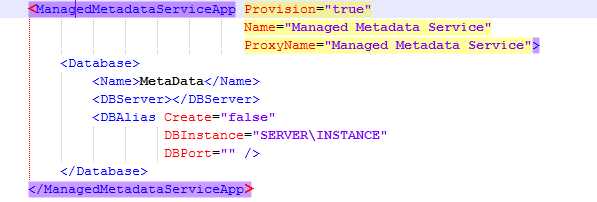
The SP_UserProfiles account currently does not have the necessary rights to sync users! You either have to give it the Replicating Directory Changes Permission (Click here for tutorial) OR, if you want an “easier” way… Just use the SP_Admin account! It’s already a local(domain) admin!
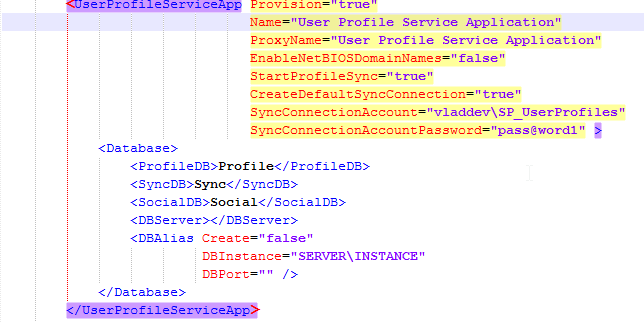
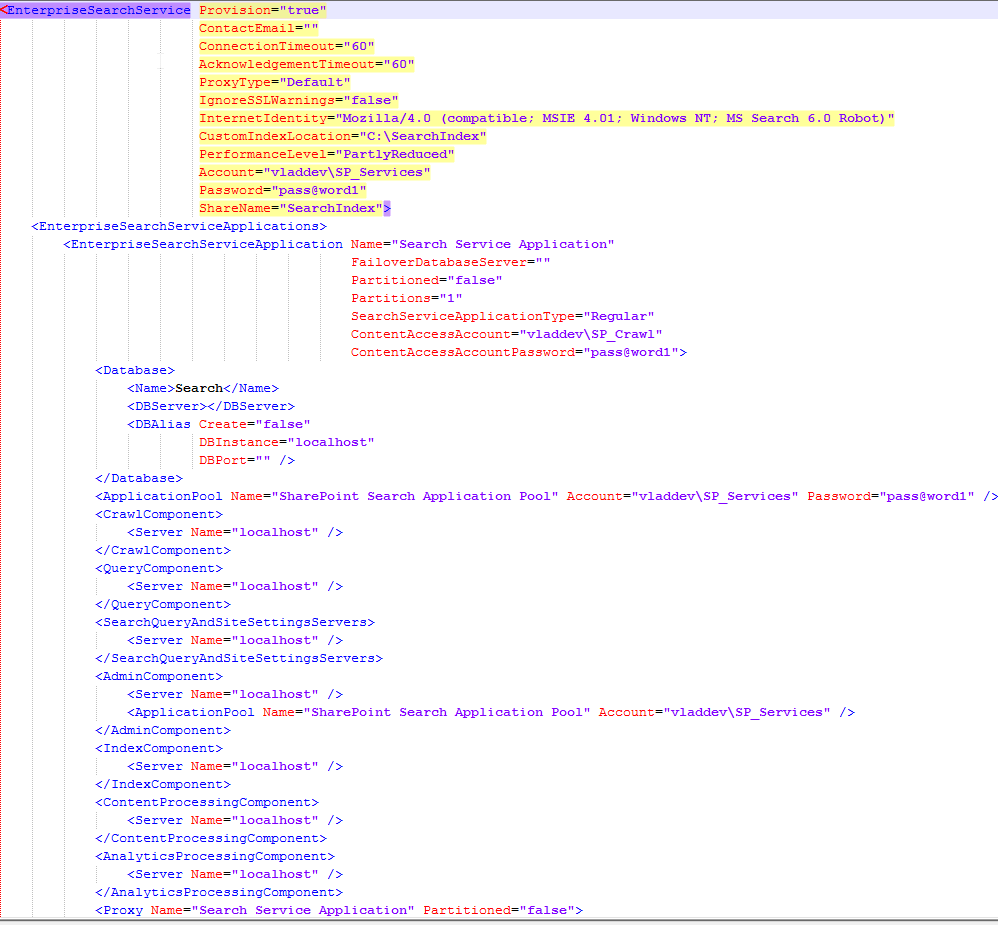

The rest of the Service Applications can be configured as you wish!
After you’re done configuring the file, run the AutoSPInstallerLaunch.bat file. It will launch a CMD window as well as a PowerShell one and will look something like this!
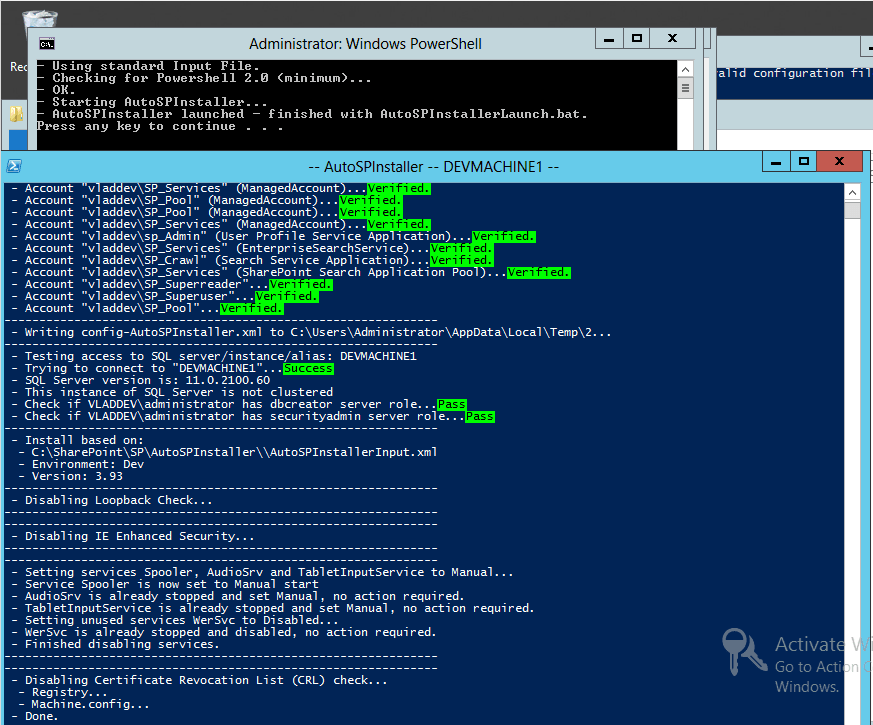
And then it will install the prerequisites, Binaries, Updates and configure everything as you told it to in the AutoSPInstallerInput.XML. Here are some screenshots of it running.
d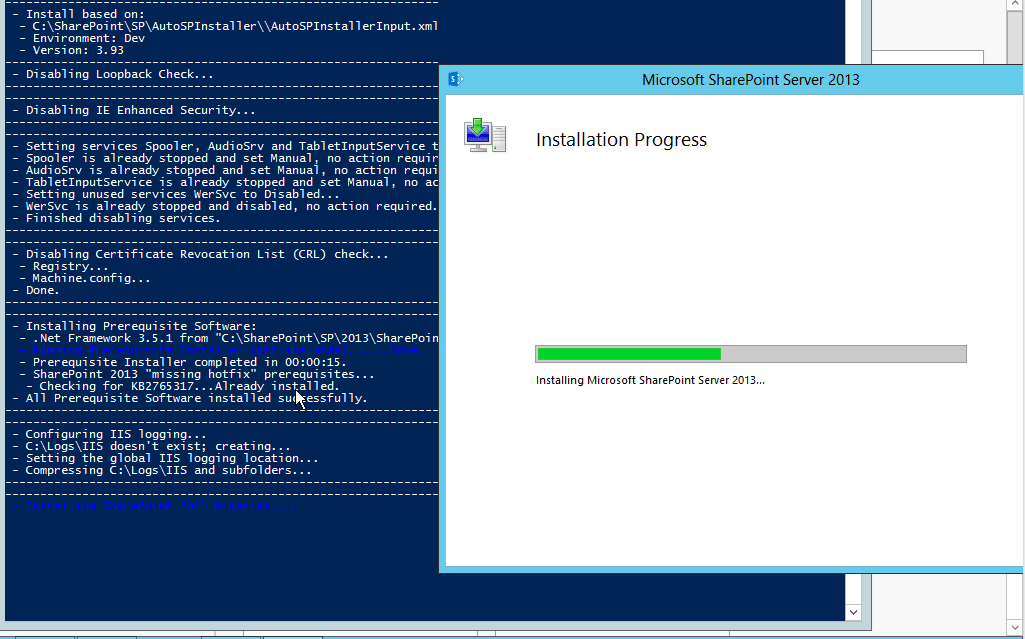
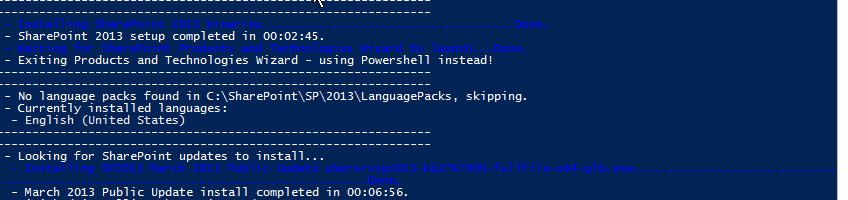
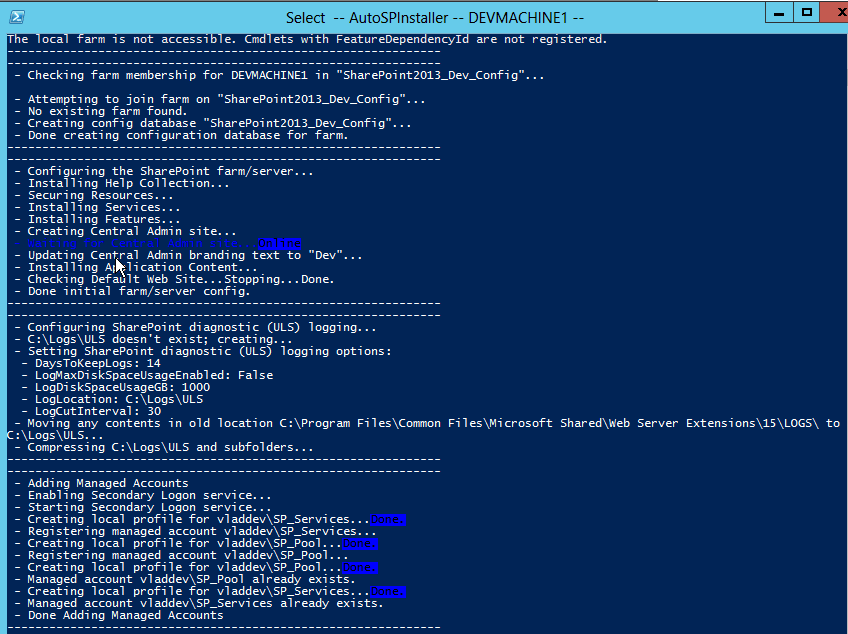
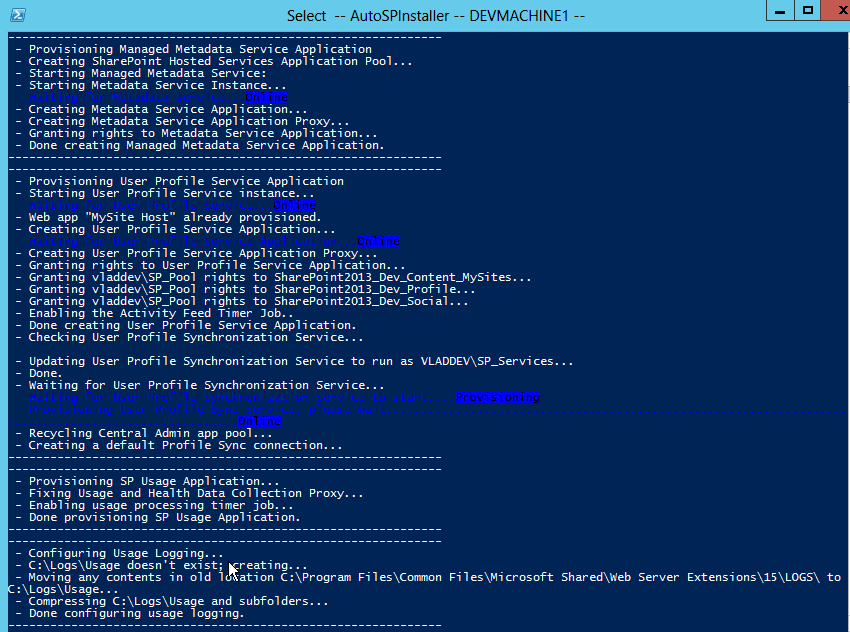
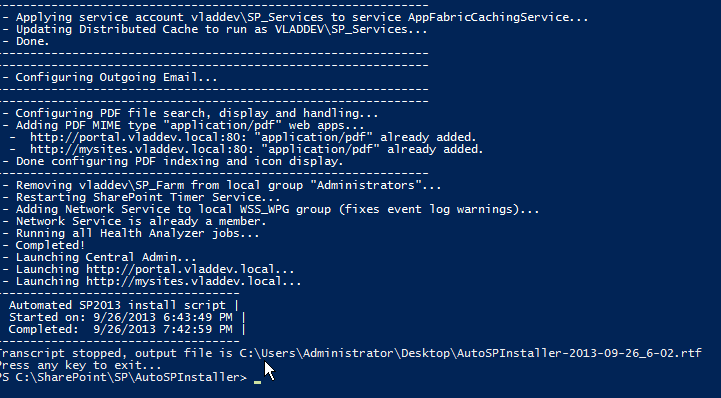
And when the SharePoint 2013 installation is done, it will open the Web Applications and Central Administration in the Background
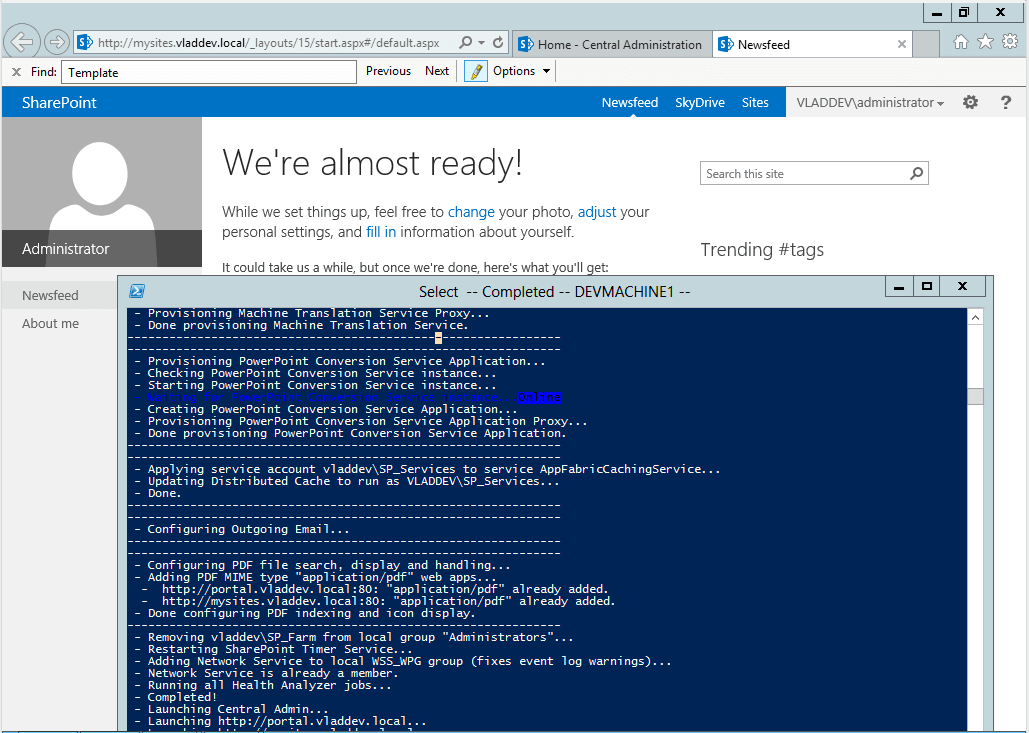
Summary
This Part of the Guide has been quite complicated, however we managed to install SharePoint 2013 entirely scripted! The fun part is now that you already got your sources ready, so you won’t have to redo the “Source Preparation” ever again. Also, since it’s a development machine, the AutoSPInstallerInput.XML will probably never change between the installs, so now you got that forever as well! One thing that isn’t “cool” now is that we have to go to “C:\SharePoint\SP\AutoSPInstaller” to launch the script and not launch it from C:\SharePoint like all the other ones! So let’s create this script and put it in C:\SharePoint
#Name: installSharePoint.ps1
#Purpose: Installs SharePoint
cd C:\SharePoint
.\SP\AutoSPInstaller\AutoSPInstallerLaunch.bat
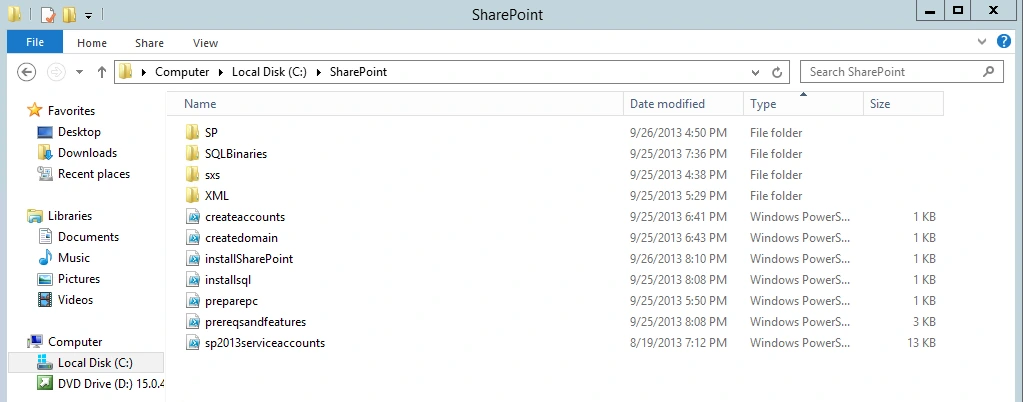
Your new C:\SharePoint should look something like this :
So Until now in the 3 Sections that we completed we:
- Changed our PC Name and Created a Domain
- Installed Prerequisite Software and Features
- Prepared our ConfigurationFile.Ini for future SQL installs and SQL install Script
- Prepared our SharePoint 2013 Sources and AutoSPInstallerInput.xml file for future installs!
- And we Also installed SQL 2012 and SP2013 of course!

