
Create a scripted SharePoint 2013 Development Environment Tutorial – Part 5
 By Vlad Catrinescu Microsoft MVP and MCT · Pluralsight Author
Introduction
Creating a SharePoint Development Virtual Machine is something you might have to do quite a few times as a Developer. Even if it’s a pretty easy process, on a slow machine it can easily kill 4-5 hours of your day only to install SQL, SharePoint, Visual Studio and all the others tools you might need to get started. What if you could just script it so it’s all done automatically while you go take coffee, chat on SharePoint Community (opens in a new tab) or whatever else you enjoy doing? In this tutorial we will learn how to build a script that we will keep using for as long as you keep developing on SharePoint 2013. The tutorial will be split in a few sections since in order to keep them focused and short, and at the end they will all be published in a downloadable PDF. I strongly encourage you to not only copy the scripts, but actually read the blog posts of why I did them like this and there are some parts where you will need to work as well!
Sections:
- Introduction & Prerequisites & Creating the Domain and Service Accounts
- Installing software prerequisites + SQL
- Installing SharePoint 2013
- Installing Visual Studio 2012 and Optional Software
- Basic Optimizing and Summary
- Advanced Optimizing of the scripts! (You are here)
- An eBook Guide of the 6 sections and a video! (19/11/2013)
Basic Optimizing
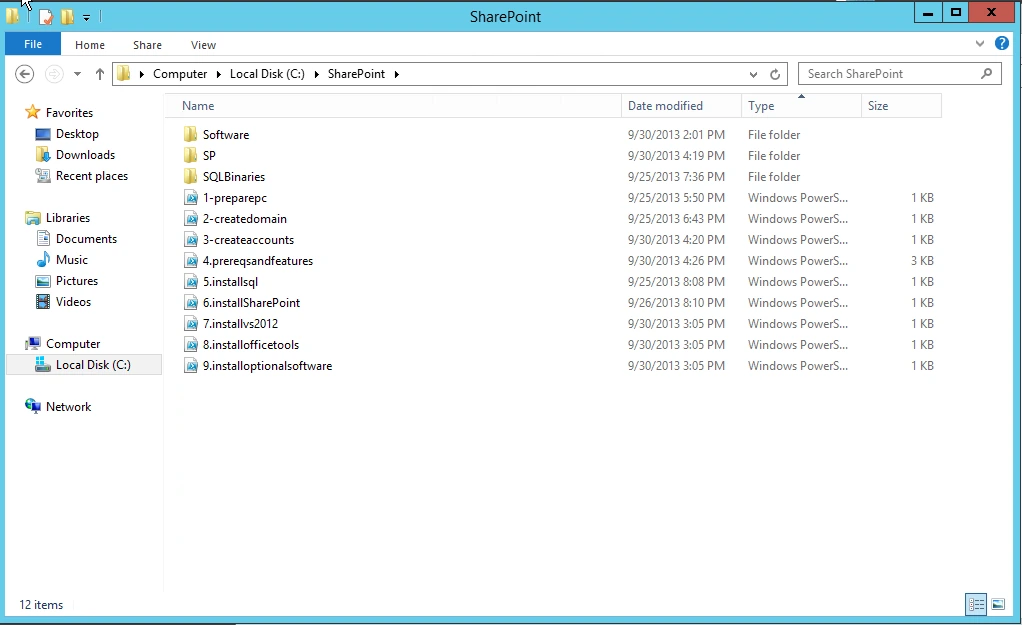
As the title says, this part of the tutorial is really just BASIC optimizing. All the “cool” and advanced stuff will be done in the next part, however if you don’t mind doing a minimum of manual Work, you can stop here! All our scripts are now ready, however look at the following screenshot and what do you see?
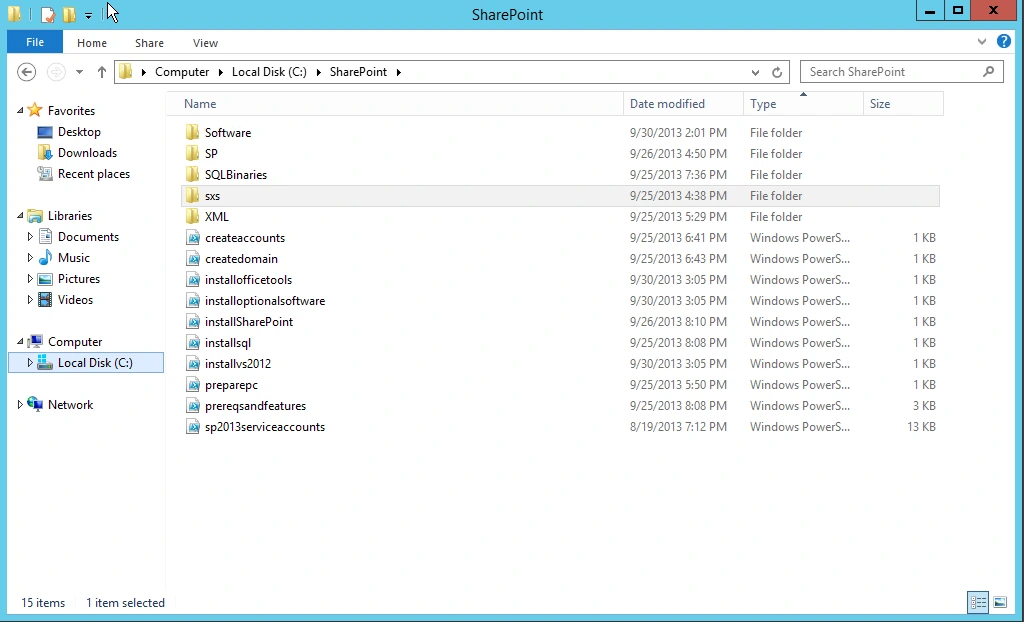
That’s right… a bunch of scripts that aren’t really in order or descriptive! Now, if you give this like that to a developer, chances are he might run the scripts in incorrect order and have lots of errors. Let’s fix that a bit!
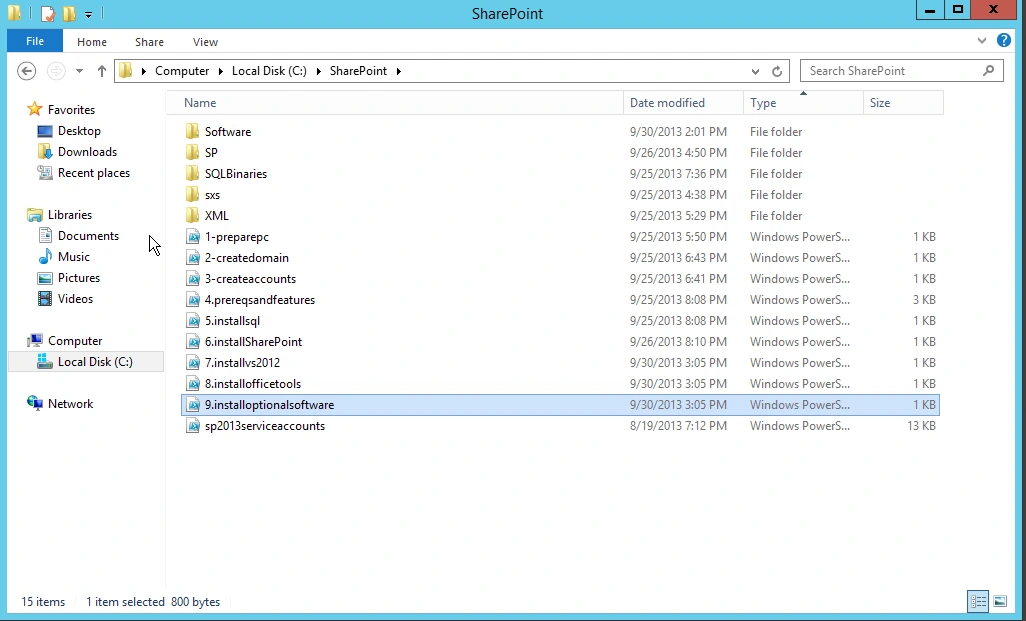
A lot better! However, I still don’t find it clean enough + the sp2013serviceaccounts.ps1 script is there with no number? Let’s move the “sp2013serviceaccounts.ps1” file and the XML folder into a new folder under “C:\SharePoint\SP\ServiceAccounts”
We also have to change the “createaccounts.ps1” script to now represent the new path. Your new script will now be this:
cd c:\SharePoint\sp\serviceaccounts
.\sp2013serviceaccounts.ps1 -Level high -SPOU "SP Service Accounts" -SQLOU "SQL Service Accounts" -SQLLevel high -OptionalAccounts $true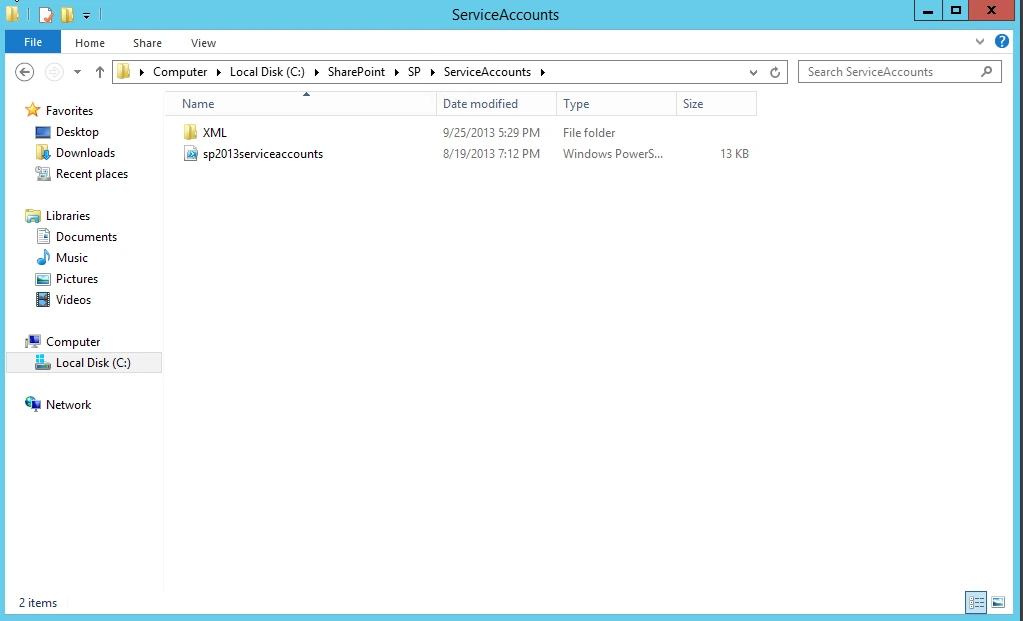
The Next thing that I find really not cool is the random “sxs” folder. All the other folders have a descriptive and logical name, except the sxs one. Luckily, under “C:\SharePoint\SP\2013\SharePoint\PrerequisiteInstallerFiles\” there is another “sxs” folder that is used for the same thing by AutoSPInstaller (if we didn’t do it before). Let’s move the “SXS” folder from the “C:\SharePoint” to “C:\SharePoint\SP\2013\SharePoint\PrerequisiteInstallerFiles\”
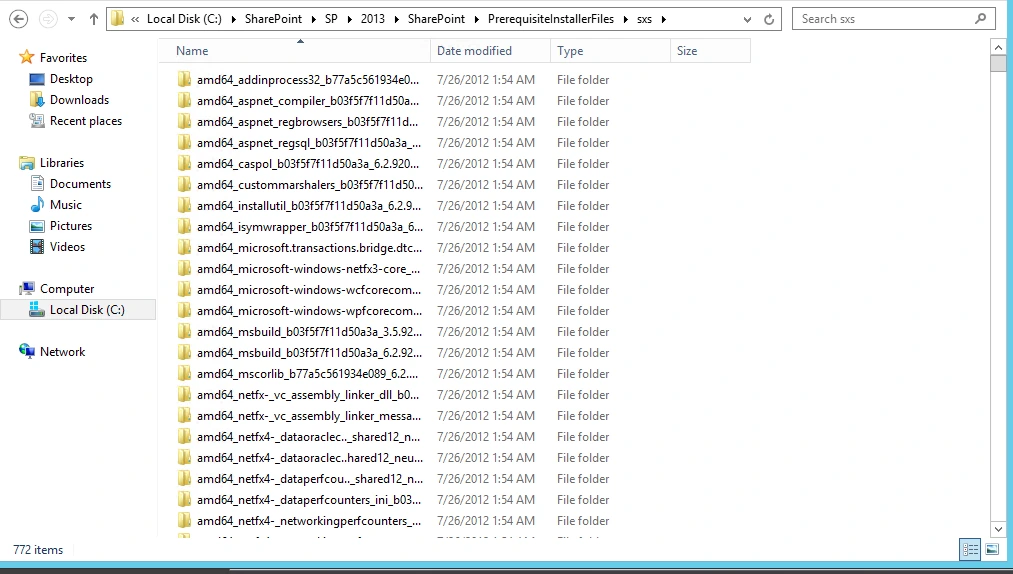
We Now also have to change the “prereqsandfeatures.ps1” script to show the new path! So, change the “Add .Net Framework” section part to show this command;
#Add .Net FrameWork
Import-Module ServerManager
DISM.exe /Online /Enable-Feature /FeatureName:NetFx3 /All /LimitAccess /Source:"C:\SharePoint\SP\2013\SharePoint\PrerequisiteInstallerFiles\sxs"
We are now left with a clean, professional folder that is ready to install you a SharePoint 2013 Development Environment with minimal input!
Next, we see that number 8 and 9 are done by the same user, one after the other and PowerShell can simply queue them… so let’s combine them and change the name to 8. Installtools.ps1. The insides will be something like this:
#Name: installtools.ps1
#Purpose: Installs Microsoft Office Developer Tools for Visual Studio 2012 & Other Software
Write-Host "Installing Microsoft Office Developer Tools for Visual Studio 2012"
C:\SharePoint\Software\OfficeToolsForVS2012RTW\WebPlatformInstaller_amd64_en-US.msi /q
Start-Sleep -s 120
C:\SharePoint\Software\OfficeToolsForVS2012RTW\bin\WebpiCmd.exe /install /products:OfficeToolsForVS2012RTW /XML:C:\SharePoint\Software\OfficeToolsForVS2012RTW\feeds\latest\webproductlist.xml /AcceptEula
Write-Host "Installing NotePad++"
cd C:\SharePoint\Software\NotePad++
.\npp.6.5.Installer.exe /S
Start-Sleep -s 120
Write-Host "Installing Goolge Chrome"
Cd C:\SharePoint\Software\Chrome
Msiexec /q /I GoogleChromeStandaloneEnterprise.msi
Start-Sleep -s 120
Write-Host "Installing FireFox"
cd C:\SharePoint\Software\FireFox
.\ffsetup.exe -ms
Start-Sleep -s 120
Write-Host "Installing SharePoint Designer 2013"
cd C:\SharePoint\Software\SPDesigner
.\setup.exe /adminfile updates\adminfile.msp
Start-Sleep -s 200
Write-Host "Copying standalone programs"
Copy-Item C:\SharePoint\Software\StandAlone\* C:\Users\sp_admin\Desktop
Write-Host "DONE"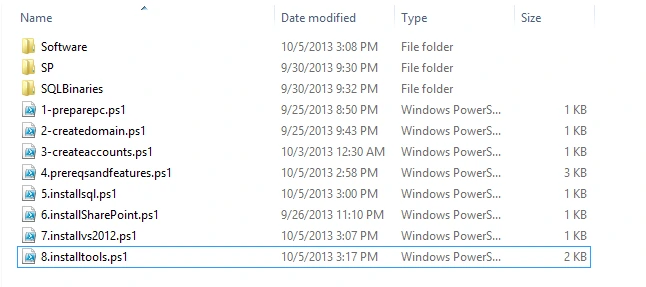
That’s it for basic optimizing! If you want to go further in automating your Development Machine, make sure you go to Part 6 (Advanced Optimizing of the scripts! (12/11/2013)
Summary
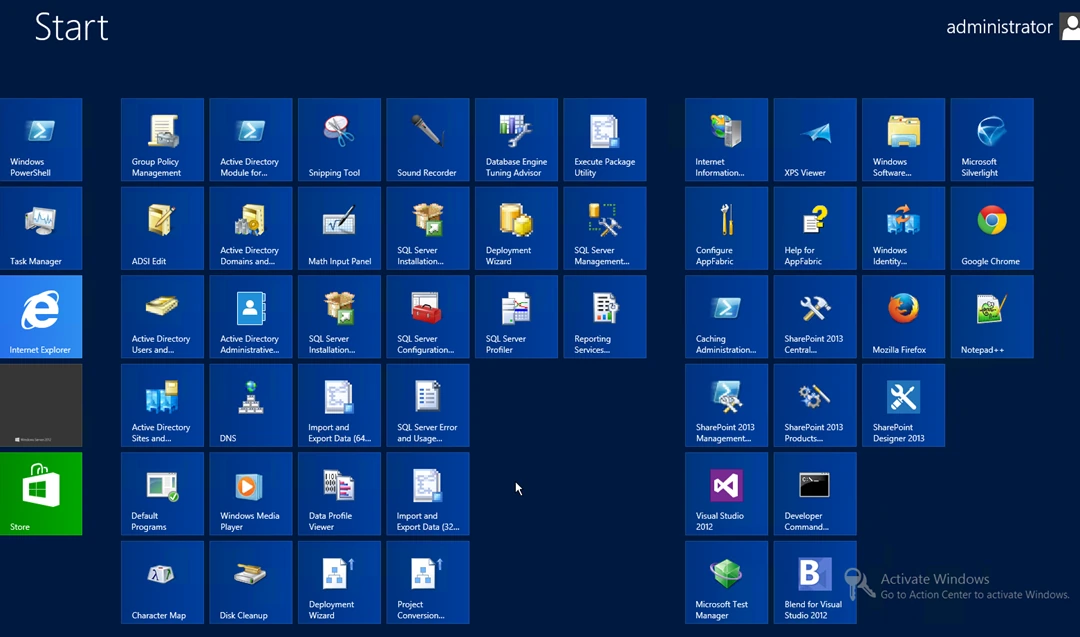
Five Blog Posts and about 7000 words later, we now got what we wanted … all the scripts to create a SharePoint 2013 Development machine as well as all the sources that you can put on a network Share and every developer in your company can use! At the end, look at all the programs we can now install automatically!
I really hope this was useful for you and you enjoyed not only copying the scripts from a blog post, but also learn the steps and understand why we ran those scripts and the configurations we did. If you are satisfied with the level of automation that we got, you can back up this gold mine on a network share, create an Instructions Manual on how to run it for yourself or your developers and stop wasting time installing SharePoint 2013 Development Virtual Machines! If you are more of a PowerShell fan and want to achieve ultimate automation, check out the next section which will show you how to do so!

